![]()
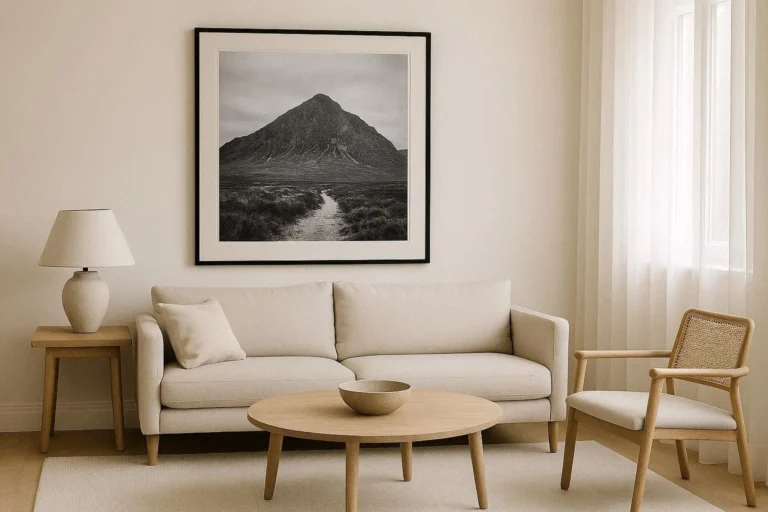
Bring Life to Your Living Space
![]()
Bring Life to Your Living Space

Let’s be real. Walking into a home decor store and seeing the price tags on wall art can be a little painful. A single framed print? $60. A canvas set? $120. And that’s before you even get to the larger statement pieces.
Here’s the good news: you don’t need to spend a lot to have a beautiful, stylish home. With a little creativity and some basic supplies, you can make your own stunning wall decor that looks just as good, and sometimes even better, than store-bought pieces.
Whether you’re decorating a new apartment, refreshing a room, or just looking for a fun weekend project, these DIY wall decor ideas will help you transform any blank wall into something you’re proud to show off.
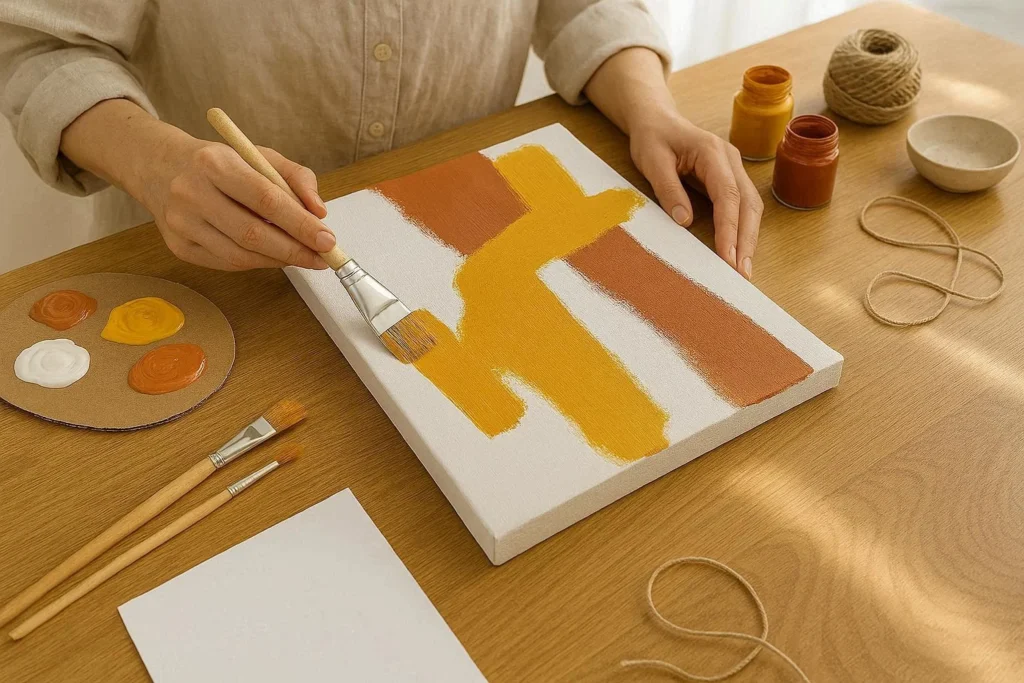
You don’t have to be a professional artist to paint something beautiful. Abstract art is forgiving, expressive, and looks amazing on any wall.
How to do it: Grab a canvas (you can find them cheap at craft stores), choose 2 to 3 complementary paint colors, and just go for it. Use wide brushes, palette knives, or even crumpled paper to apply paint in bold strokes. Let each layer dry before adding the next.
Budget tip: Acrylic craft paint costs around $1 per bottle and works perfectly on canvas.
This is one of the easiest and most affordable ways to get high-quality art on your walls. Thousands of beautiful printable designs are available online, many of them completely free.
How to do it: Find a design you love (sites like Canva, Etsy, or even Pinterest have free options), download it, and print it at home or at a local print shop. Pop it in a frame and you’re done.
Budget tip: Dollar Tree and IKEA sell frames for $1 to $5. If you’re looking for more wall decor ideas to inspire your printable choices, there are plenty of styles to explore.
Geometric shapes look modern and clean. All you need is a canvas or piece of cardstock, painter’s tape, and a few paint colors.
How to do it: Apply painter’s tape in a geometric pattern across the canvas. Paint over the whole thing, let it dry, then carefully peel the tape off. The clean lines underneath create a sharp, professional look.
Budget tip: Use leftover wall paint for this project. No need to buy anything new.
A meaningful quote painted in soft watercolors makes a lovely personal touch for any room.
How to do it: Lightly pencil your quote onto watercolor paper. Paint the letters in soft washes of color, blending shades as you go. Once dry, erase the pencil lines and frame it.
Budget tip: A basic watercolor set from a craft store costs $5 to $10 and lasts for dozens of projects.

Paper is one of the most versatile and inexpensive materials you can use for homemade wall decor. From origami to paper flowers to simple collages, the possibilities are huge.
How to do it: Cut paper into shapes, fold it into 3D forms, or create a layered paper collage on a canvas or foam board. A mix of textures (tissue paper, cardstock, scrapbook paper) adds visual depth.
Budget tip: Use old magazines, wrapping paper, or newspaper for a zero-cost version.
Fabric wall hangings have a warm, bohemian feel that works in bedrooms, living rooms, and hallways. They’re also surprisingly easy to make.
How to do it: Find a wooden dowel or stick from your yard. Cut fabric strips or yarn in coordinating colors and tie them to the dowel. You can braid some, knot others, and trim the ends at different lengths for a layered effect.
Budget tip: Use fabric scraps, old scarves, or cut up an old t-shirt. You likely already have everything you need.
Macrame is having a big moment in home decor, and it’s genuinely beginner-friendly. The basic knots are easy to learn, and even a simple design looks impressive on the wall.
How to do it: Pick up a spool of macrame cord (natural cotton is inexpensive), a wooden dowel, and watch a beginner tutorial on YouTube. The square knot is the foundation of most macrame designs.
Budget tip: A 500-foot spool of cord costs about $10 to $15 and is enough for several projects.
Yarn art, also called fiber art or thread painting, involves wrapping colorful yarn around nails hammered into wood or cardboard to create shapes, patterns, and even portraits.
How to do it: Sketch your design on a wooden board, hammer in small nails along the outline, then weave yarn around the nails to fill in the shape. Geometric designs like stars and triangles are great starting points.
Budget tip: Use yarn from old projects or thrift store finds. A small pack of craft nails costs less than $3.
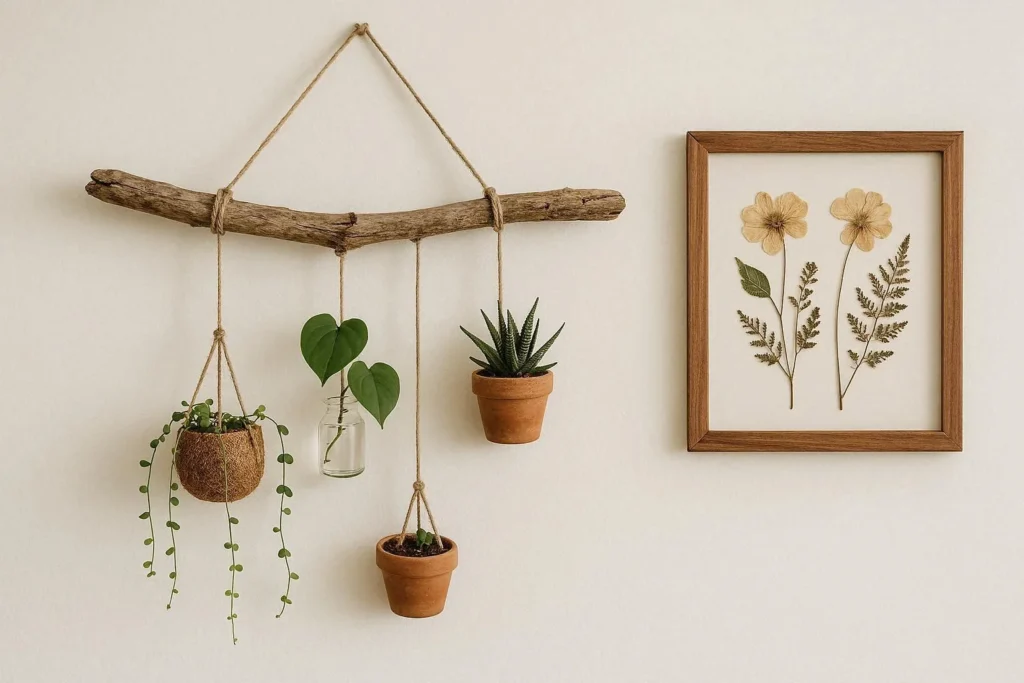
Bringing natural materials indoors gives a room an organic, earthy feel. A piece of driftwood or a curved branch can become a beautiful wall accent.
How to do it: Find an interesting piece of wood or a sturdy branch outdoors. Clean it off, let it dry completely, and sand it lightly if needed. Mount it on the wall using a few nails or picture hanging strips. You can hang small plants, photos, or other decorations from it.
Budget tip: This one is literally free if you collect your own materials. Just make sure the wood is fully dry before bringing it inside.
Pressed botanicals look like something you’d see in a fancy boutique, but they cost almost nothing to make.
How to do it: Collect flowers, leaves, or ferns from your garden or a park. Press them flat between heavy books for about two weeks. Once dried, arrange them on a piece of card stock or watercolor paper and frame them.
Budget tip: Use a simple black or white frame from the dollar store for a clean, modern look.
Old wooden pallets or fence boards can be turned into gorgeous rustic wall decor. A simple quote, a geometric pattern, or even a painted mural on reclaimed wood makes a big statement.
How to do it: Sand the wood smooth, then paint or stain it in your chosen color. You can use stencils to add letters or patterns. Mount directly on the wall using brackets or hooks.
Budget tip: Pallets are often free from hardware stores or warehouses. Just ask.
Small stones and pebbles can be glued onto a canvas or wooden board to create simple, textured designs like trees, waves, or abstract patterns.
How to do it: Collect smooth pebbles, wash them, and let them dry. Arrange them into your design on a canvas before gluing. Use a strong craft glue or hot glue gun to secure each stone in place.
Budget tip: Pebbles are free from outside. Craft glue costs about $3.
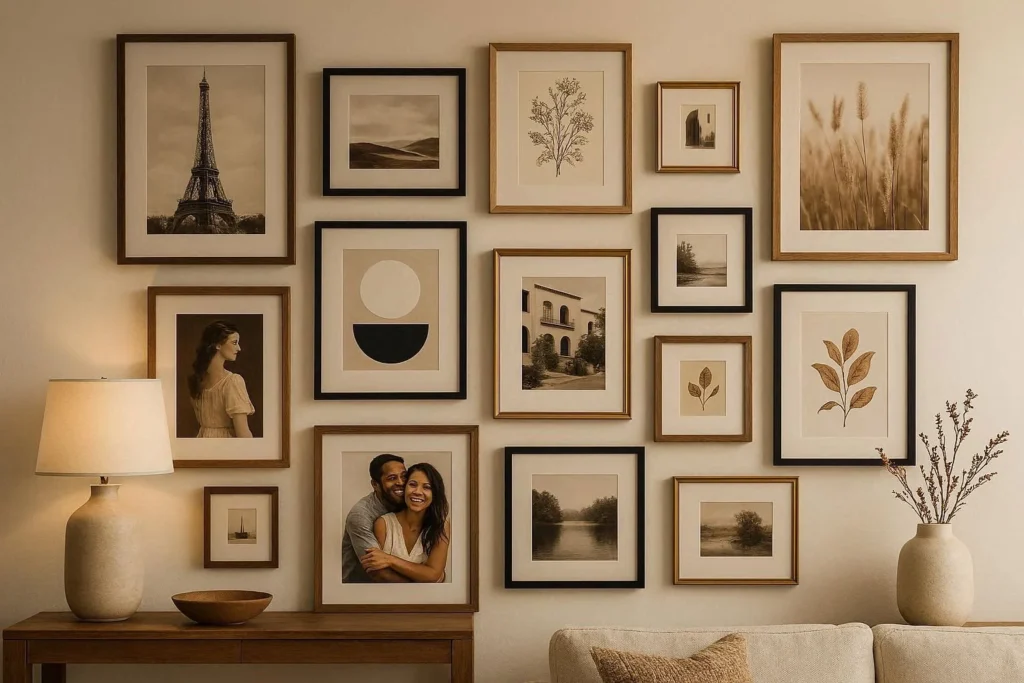
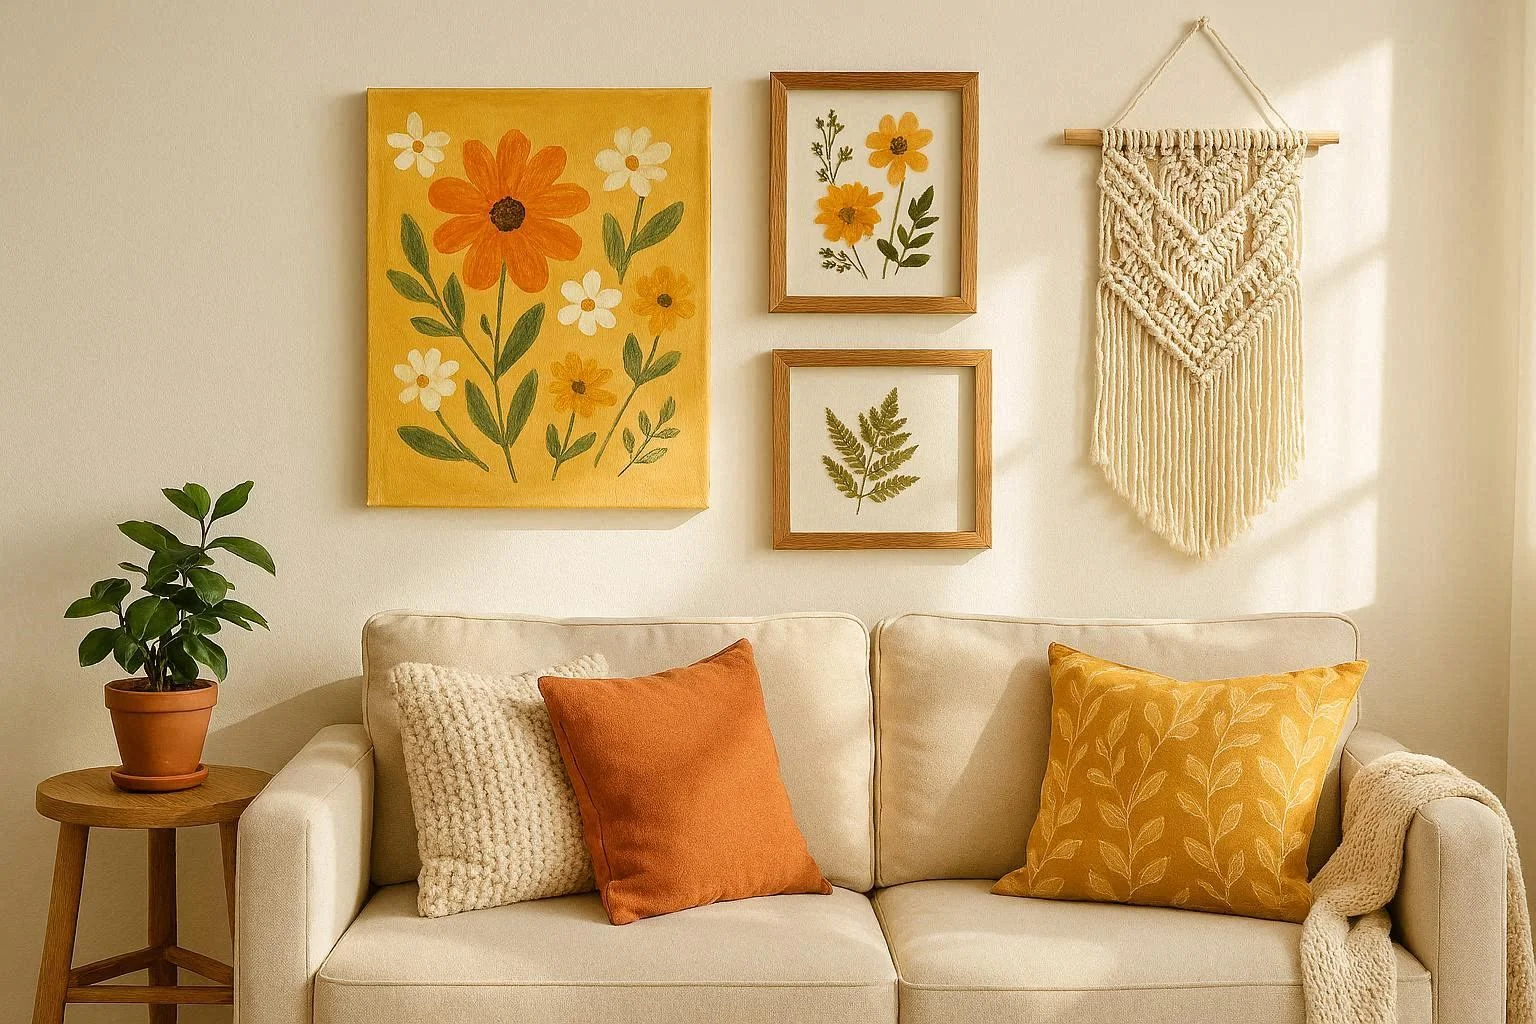
A gallery of your favorite photos is one of the most personal and heartfelt ways to decorate a wall. It tells your story and fills even a large blank wall beautifully.
How to do it: Choose a mix of sizes, from wallet-sized to 8×10. Print your favorites at home or through an online service. Lay them out on the floor first to plan the arrangement before putting holes in the wall.
Budget tip: Online print services like Snapfish or Shutterfly regularly offer deals where you can get prints for pennies each. This is also one of the best approaches for large wall decor ideas since a sprawling photo arrangement fills space beautifully.
A gallery wall doesn’t have to match. In fact, mixing frame styles, sizes, and colors is what makes it look curated and collected over time, rather than bought all at once.
How to do it: Combine different frame finishes (wood, black, gold, white), different art styles (photos, prints, paintings), and even small objects like mirrors or small shelves. The key is spacing. Keep about 2 to 3 inches between each piece for a clean look.
Budget tip: Thrift stores are goldmines for interesting frames. Pick up mismatched ones and spray paint them all the same color if you want a more cohesive look.
String lights aren’t just for the holidays. Hung creatively on a wall, they add warmth, glow, and a bit of magic to any room.
How to do it: Use small nails or adhesive hooks to arrange fairy lights in a shape (a heart, star, or simple swag), or weave them through a piece of driftwood or a ladder-style display. You can also clip photos to the string lights for a combined effect.
Budget tip: Warm white LED fairy lights are inexpensive and use very little electricity.
Washi tape is a removable, decorative tape that comes in hundreds of colors and patterns. It’s perfect for renters or anyone who doesn’t want to commit to permanent changes.
How to do it: Use washi tape to create geometric shapes, stripes, a faux headboard, or even a complete mural directly on the wall. It peels off cleanly without damaging paint.
Budget tip: A roll of washi tape costs $1 to $3. You can create a whole feature wall for under $20.
A collection of decorative plates arranged on a wall looks elegant and eclectic. You can mix patterns, colors, and sizes for a maximalist display, or keep things simple with all-white for a cleaner look.
How to do it: Pick up assorted plates from thrift stores or the dollar store. Use plate-hanging discs (available at hardware stores) to mount them. Arrange on the floor first before committing to holes.
Budget tip: Thrift store plates usually cost 50 cents to $2 each. A whole display can be done for under $20.
A chalkboard panel gives you a wall that you can write on, erase, and redo whenever the mood strikes. It’s functional, creative, and surprisingly stylish.
How to do it: Buy a piece of MDF or plywood from a hardware store and paint it with chalkboard paint (available in black and even colors). Frame it with thin wood trim for a polished look. Mount on the wall and it’s ready to use.
Budget tip: Chalkboard paint costs about $10 to $15 per can and covers a large area.
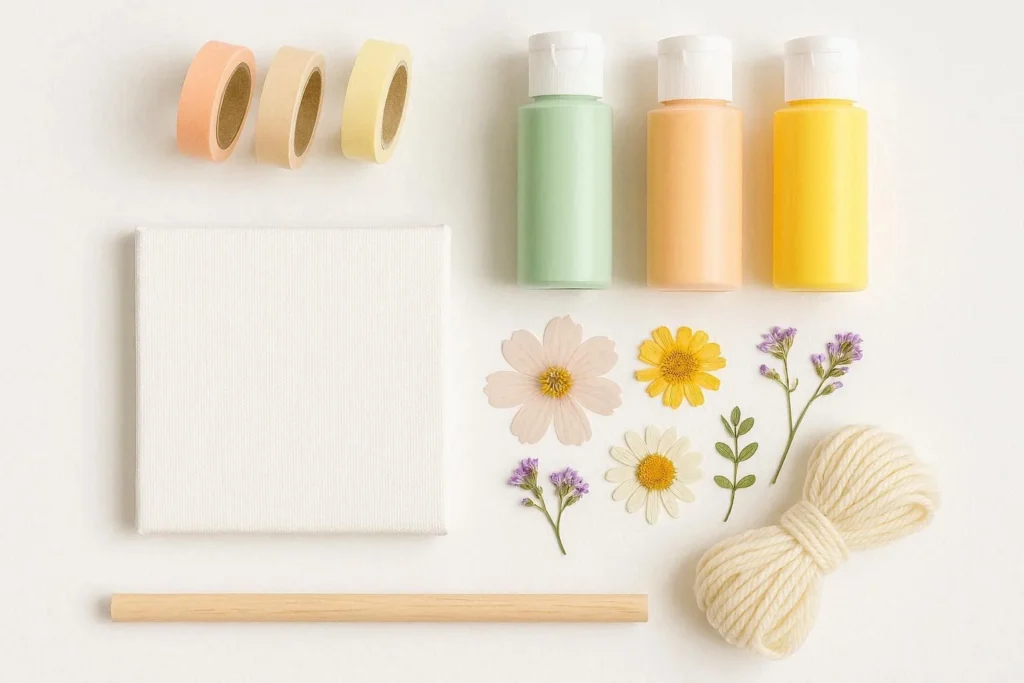
You don’t need an expensive supply haul to get started. Here are some smart ways to keep costs low:
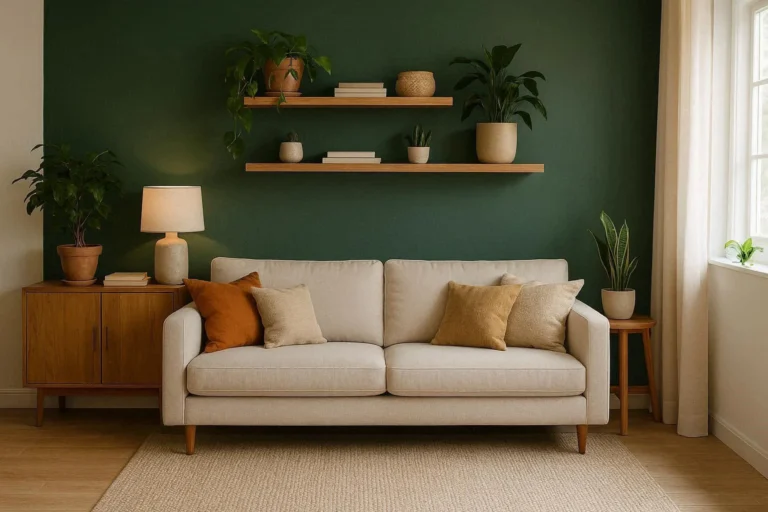
For more living room wall decor ideas that can inspire your budget approach, it’s worth exploring how different textures and materials can transform a space without a big spend.
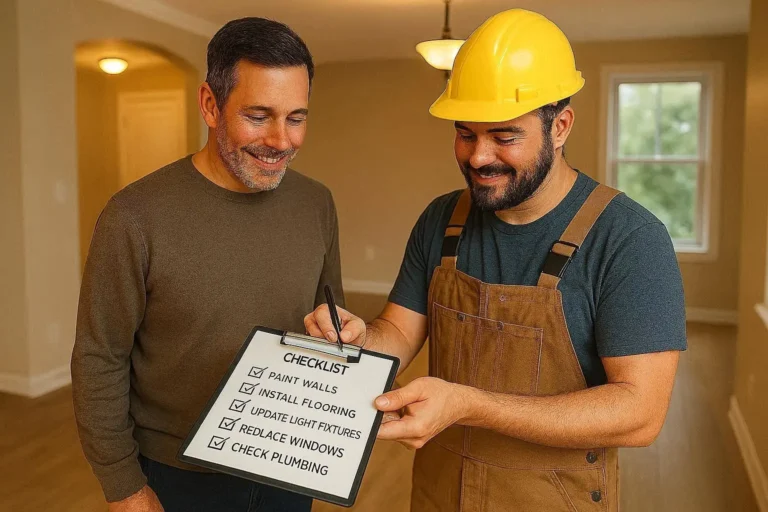
If you’re new to DIY projects, these tips will save you a lot of frustration:
Start small. Don’t try to create a gallery wall of twenty pieces on your first attempt. Pick one idea, finish it, and build your confidence before taking on something bigger.
Measure before you hang. One of the most common beginner mistakes is eyeballing placement and ending up with crooked or off-center art. Use a level and measure from the center of the wall outward.
Test before you commit. Cut out paper templates the same size as your artwork and tape them to the wall before making any holes. It takes five minutes and saves a lot of patching.
Keep it simple. A few well-chosen, well-executed pieces look far better than a wall crammed with too many elements. When in doubt, edit down. In many DIY wall projects, using fewer materials and keeping the design simple often leads to the best results, especially when you’re just starting out.
For bedroom decorating ideas specifically, minimalist wall displays with one or two strong focal points tend to feel the most restful and intentional.
Overcomplicating the design. It’s tempting to add more and more to a project until it feels complete. But often, simpler is stronger. Pick a clear idea and stick with it.
Ignoring scale. A tiny piece of art on a huge wall looks lost. Match the size of your decor to the size of your wall. A large blank wall needs either one big statement piece or a grouped arrangement.
Using too many colors or styles. Mixing too many competing patterns, colors, or textures on one wall creates visual chaos. Choose a color palette of two to three tones and stick with it.
Rushing the process. Letting paint layers dry fully, waiting for glue to cure, and taking time to level your pieces properly makes a noticeable difference in the final result.
Hanging art too high. Most people hang things too high. The center of a piece of art should sit at eye level, roughly 57 to 60 inches from the floor.
For even more creative home decor ideas to spark your imagination, there’s always something new to try in every room.
Some of the easiest options include printable wall art in thrifted frames, washi tape designs directly on the wall, pressed flower frames, and simple canvas painting. These projects require minimal tools or skills and can be completed in a few hours.
Start by shopping your home for unused frames, fabric, or art supplies. Visit thrift stores for interesting frames and decorative objects. Use free printable art, collect natural materials from outside, and repurpose leftover paint from other projects.
The options are almost endless. Canvas, wood, cardstock, fabric, yarn, macrame cord, paper, pebbles, pressed flowers, washi tape, old plates, driftwood, and even mirrors all make great DIY wall art materials. Most are inexpensive or free.
Absolutely. Most DIY wall decor projects are designed for people with no art training or special skills. Start with simple ideas like printable art or washi tape designs, and work your way up to more involved projects like macrame or gallery walls as you gain confidence.
Use a level when hanging, keep consistent spacing between pieces, choose a cohesive color palette, and don’t overcrowd the wall. Clean, neat framing and properly dry paint layers also make a big difference in the final appearance.
Decorating your walls doesn’t have to cost a fortune or require any special talent. All it takes is a little creativity, some affordable supplies, and the willingness to try something new.
The ideas in this guide cover everything from quick afternoon projects to more involved weekend crafts. Start with whatever feels approachable, and don’t be afraid to experiment. Your walls are a blank canvas waiting for your personal touch.
The most important thing? Have fun with it. Your home should feel like you, and DIY wall decor is one of the best ways to make that happen.